The Jefferson Curl: Improved Mobility and Posterior Chain Strength

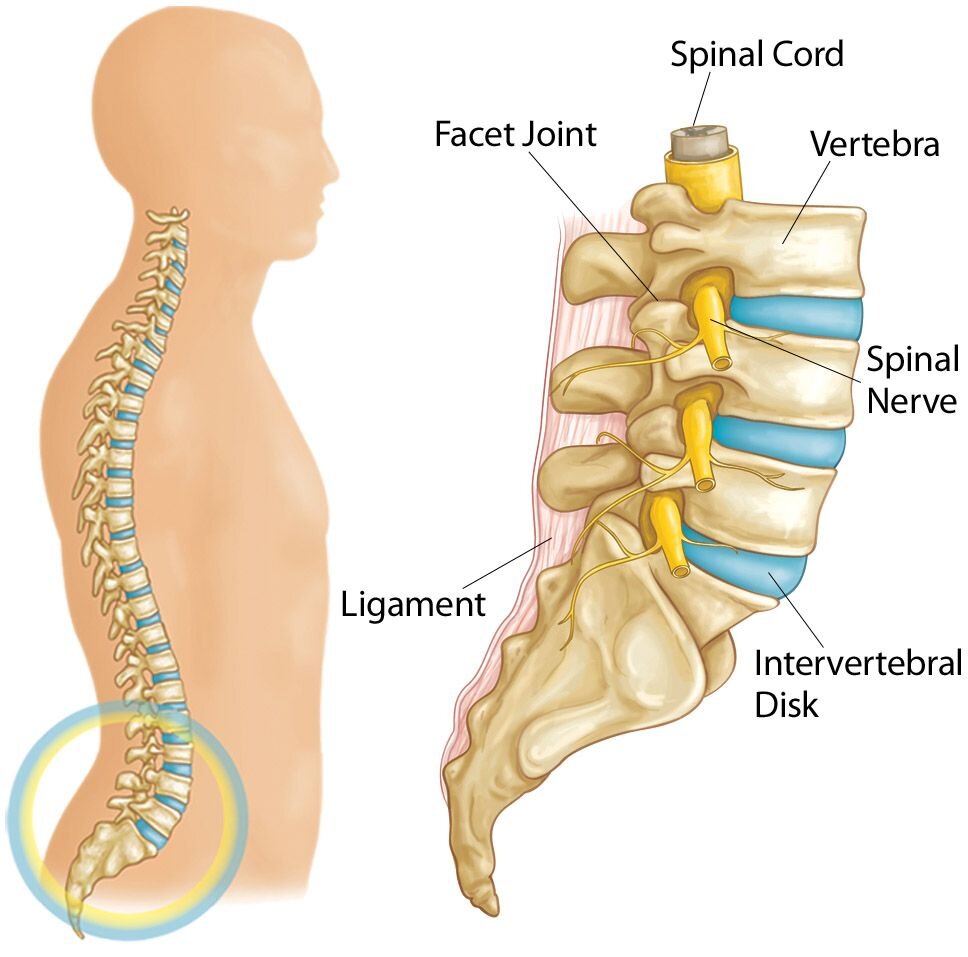
The Jefferson Curl is a unique and highly effective exercise that targets the entire posterior chain—the muscles on the back of your body from the lower to the upper back. It's a full-body movement, but it mainly emphasizes the flexibility, range of motion, and strength of the spine, hamstrings, and glutes which in turn helps prevent upper, middle, and lower back pain and injury while also improving nervous system function. Your erector spinae get worked in a fuller range of motion during Jefferson curls because they lengthen/stretch and contract rather than staying isometrically the same length throughout. A simple movement, the Jefferson Curl offers long term results to pain and mobility issues.
While both Jefferson curls and Romanian deadlifts (RDLs) target the posterior chain, they differ in their spinal movement and primary focus. Jefferson curls emphasize spinal flexion, strengthening the spine and supporting tissues, while RDLs focus on hip hinge and posterior chain strength with a neutral spine.
This spinal flexion exercise, often attributed to famed strongman Thomas Inch or President Thomas Jefferson, is a staple in the training programs of exercise science professionals and high end athletes: gymnasts, weightlifters, any personal trainer to professional athletes, and yoga practitioners. When performed with proper form, it can greatly enhance your overall flexibility, mobility, and strength. Here's how to properly perform the Jefferson Curl.
Step 1: Preparation and Setup
Before you begin, it's crucial to set yourself up properly, as the Jefferson Curl is an advanced exercise.
Finding the Right Space
You'll need enough room to safely move and extend fully without bumping into any objects or facing any distractions.
Equipment
To do the Jefferson Curl, you can use a variety of equipment such as a low box, barbell, dumbbells, kettlebells, or just your body weight. For novices, it's recommended to start with no load or a very light dumbbell.
Proper Body Position
As a starting position, assume a strong standing position with your feet hip-width apart, and your knees straight but not locked out to avoid hyper-extension. Eventually you can progress to performing the movement from an elevated surface, but to start out make sure you are an a flat surface. Engage your core and maintain a neutral spine.
Step 2: The Descent - Belly Button To Spine
The Jefferson Curl involves a deliberate and controlled descent to fully articulate the movement of the spine; you’re going to bend forward.
Belly Button to Spine: Your movement down should be one vertebrae at a time from the cervical to the low back. Keep your pelvis in a neutral position, trying not to drive the hips backwards while engaging the abs, pulling your belly button back towards your spine.
If you're using a barbell, keep the barbell as close to your body as possible. This minimizes the load on your lower back and makes the exercise safer and more effective.
The descent should be slow and controlled, taking about 5 seconds to reach the maximal stretch. Try not to bounce or use momentum to get deeper into the stretch. Keep your neck straight.
Step 3: The Full Stretch
At the bottom of the movement, the goal is to achieve a maximal stretch after full range of motion for the hamstrings and the back. Tip the pelvis forward anteriorly while evenly distributing your weight, not leaning to one side, being sure not to fall back on the heels. Pause briefly at the bottom with weight supported in the forefoot, quads, and keep the core engaged.
Focus on a deep inhale as you go down to increase the oxygen supply for the stretch. Hold your breath or exhale gently as you reach the fully stretched position.
Visualize creating space between each of your spinal vertebrae. This is a stretch for each part of your spine, so maintaining a controlled, consistent movement is vital.
Step 4: The Ascent
The ascent is the second half of the movement where you bring the weight back up. This is as critical as the descent phase to ensure maximum benefits.
Utilizing the entire posterior chain, engage your hamstrings, glutes, and lower back to bring the weight back up. It's not just a back exercise—it's a full-body exercise.
Just as you lowered the weight in a controlled manner, raise it slowly. Each vertebrae should engage and extend properly as you move upward.
Recommended Repetition and Volume
Because of the intensity of this exercise, it's best to start with only a few reps and light weight (or no weight), starting with a few curls per set and adding more as you become more comfortable with the movement.
Begin with 3 sets of 5-8 reps of Jefferson Curls with very light weights. Over time, you can increase the weight or the number of repetitions. However, quality always trumps quantity, especially with an exercise as complex as the Jefferson Curl.
Safety and Precautions: Load And Movement Control
When performing the Jefferson Curl, there are a few key safety precautions to keep in mind.
Always begin with very light loads or the weight of your own body until you've mastered the movement pattern.
As with any new exercise routines or movements, be sure to consult with your physician concerning any limitations or pre existing conditions before moving forward with this movement, and not just for core or back injury; remember, this is a full body movement.
Your spine should be the only thing moving during the exercise. Keep your knees aligned over your ankles, and avoid any "rounding" of the shoulders or hunching of the back.
And Finally, listen to your body! Discontinue the exercise if you feel pain, especially in the lower back. If you have any existing back issues, consult a healthcare professional before attempting the Jefferson Curl.
Integrating The Jefferson Curl Into Your Routine
The Jefferson Curl is an excellent accessory exercise and should be incorporated properly into your existing upper and lower body strength training program and fitness routine.
Do the Jefferson Curl no more than 2-3 times per week to allow proper recovery of the posterior chain.
It's best to do the Jefferson Curl towards the beginning of your strength training or mobility workout, after a proper warm-up, when your lower and upper back muscles are pliable but fresh.
This exercise complements other posterior chain exercises that you may have learned from a fitness coach such as deadlifts, back extensions, and good mornings, olympic weightlifting, or any other movements that require a wide range of motion.
By following these detailed instructions, you can safely and effectively add the Jefferson Curl to your fitness regimen with special consideration to any pre existing condition or limitation.
It's not an exercise to be taken lightly, but with the right approach, it can unlock new levels of strength, flexibility, and athletic performance in your body while also aiding in injury prevention. Remember, form and technique trump numbers—pay attention to your movement and gradually build up weight as your proficiency improves.
Want to learn more? Reach out the team at 919 Spine and learn more about this and a number of other movements and techniques that can improve your lower back strength and overall quality of life to get you moving more efficiently and pain free!